
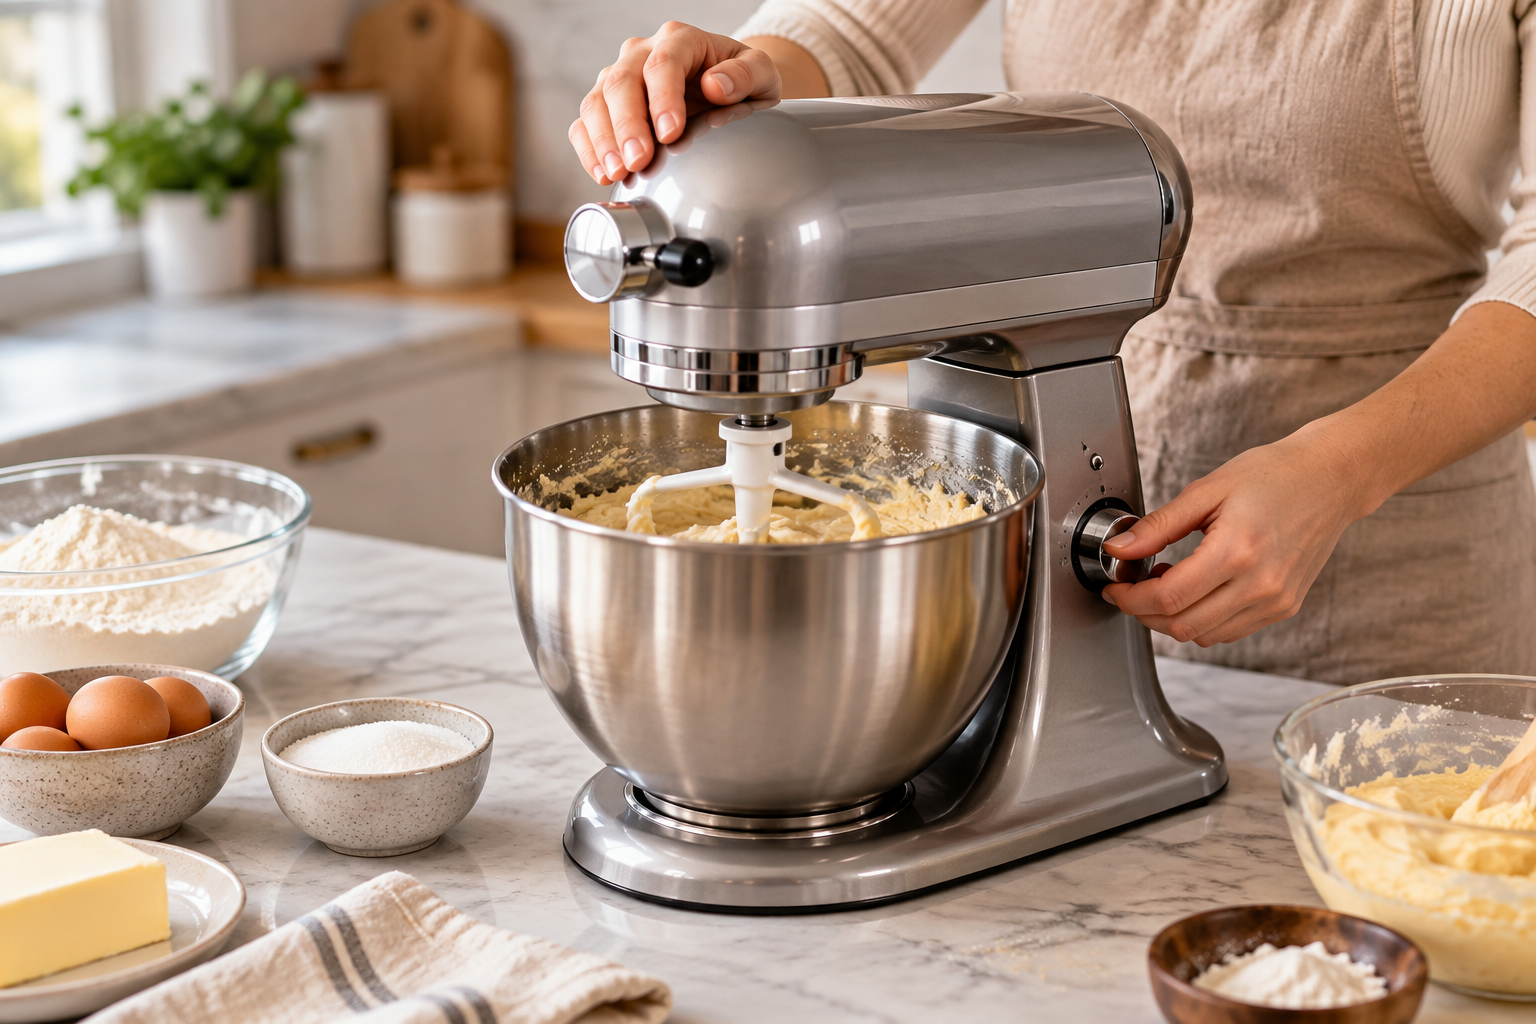
Using a stand mixer can make baking and food preparation easier, especially when you need to mix batter, whip ingredients, or knead dough.
For beginners, learning how to use the mixer correctly can help produce better results while reducing mess and unnecessary strain on the machine.
In this step-by-step guide, we’ll explain how to use a stand mixer, choose the right attachment and speed, and avoid common mistakes.
What You Need Before Using a Stand Mixer
Before using your stand mixer, place it on a stable, flat surface with enough space around the machine. Make sure the bowl and attachment are clean and properly secured.
Choose the attachment that matches your recipe. A flat beater is commonly used for cake batter, cookie dough, and general mixing, while a wire whisk is better for whipping cream or egg whites. A dough hook is designed for kneading yeast dough.
Always check the manufacturer’s instructions for your specific mixer before first use, as controls, attachments, and recommended speed settings can vary between models.
How to Use a Stand Mixer: Step by Step
Step 1: Attach the Bowl and Choose the Right Attachment
Secure the mixing bowl according to your mixer’s instructions, then install the attachment that matches your recipe.
Use the flat beater for general mixing, the wire whisk for whipping and aerating ingredients, or the dough hook for kneading yeast dough. Make sure both the bowl and attachment are properly locked in place before turning on the mixer.
Step 2: Add the Ingredients
Add the ingredients to the mixing bowl according to your recipe. Measuring ingredients accurately can help produce more consistent results, especially when baking.
Avoid overfilling the bowl, particularly when working with flour or dough that may expand or move during mixing. If your recipe requires ingredients to be added gradually, keep them nearby so you can add them safely during the mixing process.
Step 3: Start at a Low Speed
Start the mixer at a low speed to combine the ingredients gradually. This can help prevent flour, liquids, or other ingredients from splashing out of the bowl.
Once the ingredients begin to come together, increase the speed gradually if the recipe requires it. Avoid starting at a high speed unless the manufacturer’s instructions or recipe specifically recommends doing so.
Step 4: Adjust the Speed for the Recipe
Adjust the mixer speed according to the task and your recipe. Lower speeds are generally useful for combining ingredients and kneading dough, while medium or higher speeds may be appropriate for beating or whipping.
Increase the speed gradually rather than moving immediately from the lowest to the highest setting. Always follow your mixer manufacturer’s recommendations, especially when kneading heavy dough.
Step 5: Monitor the Mixing Process
Watch the mixture as the mixer runs and stop occasionally if you need to check the texture or scrape ingredients from the sides of the bowl.
Turn the mixer off before using a spatula or adjusting ingredients near the attachment. Avoid overmixing, as some batters and doughs can develop an undesirable texture when mixed for too long.
Follow the visual cues and mixing time recommended in your recipe rather than leaving the mixer running unattended.
Step 6: Turn Off the Mixer and Remove the Mixture
When mixing is complete, turn the mixer off and wait for the attachment to stop moving completely before removing the bowl or attachment.
If your mixer has a tilt-head design, unlock and raise the head according to the manufacturer’s instructions. For a bowl-lift model, lower the bowl before removing it.
Remove the attachment carefully, then use a spatula to transfer or scrape the mixture from the bowl as needed.
Step 7: Clean the Stand Mixer
Unplug the stand mixer before cleaning it. Remove the bowl and attachment, then wash them according to the manufacturer’s instructions, as some parts may be dishwasher-safe while others require hand washing.
Wipe the mixer body with a soft, damp cloth to remove flour, batter, or other residue. Avoid immersing the mixer body in water.
Allow all removable parts to dry completely before reassembling or storing the mixer.
Common Stand Mixer Mistakes to Avoid
A few simple mistakes can make a stand mixer less effective or create unnecessary mess. Avoid starting at a high speed when working with flour or liquids, overfilling the bowl, or using the wrong attachment for the task.
Do not place utensils or your hands near moving attachments, and always stop the mixer before scraping the bowl or making adjustments.
When kneading heavy dough, follow the manufacturer’s recommended speed and capacity limits to avoid placing unnecessary strain on the mixer.
Frequently Asked Questions
Which stand mixer attachment should beginners use?
The right attachment depends on the recipe. A flat beater is commonly used for general mixing tasks such as cake batter and cookie dough, while a wire whisk is better for whipping cream or egg whites.
For yeast dough, use the dough hook and follow the mixer manufacturer’s recommended speed and capacity limits. Beginners should check the recipe and mixer instructions before choosing an attachment.
What speed should you use on a stand mixer?
The best speed depends on the recipe and the attachment you are using. Starting at a low speed is generally useful for combining ingredients and reducing splashing, especially when working with flour or liquids.
You can increase the speed gradually when a recipe requires beating or whipping. For heavy dough, follow the manufacturer’s recommended speed because some mixers have specific limits for kneading.
Final Thoughts
Learning how to use a stand mixer is mostly about choosing the right attachment, starting at an appropriate speed, and paying attention to the mixture as it develops.
With a little practice, a stand mixer can make everyday tasks such as mixing batter, whipping ingredients, and kneading dough easier and more consistent.
Always follow the instructions for your specific mixer, especially for attachment use, speed settings, bowl capacity, and cleaning.
Still choosing a mixer? Read our best stand mixer for beginners guide to compare mixer types, bowl capacity, attachments, performance, size, and other important features before buying.
2 thoughts on “How to Use a Stand Mixer: Step-by-Step Guide for Beginners”