
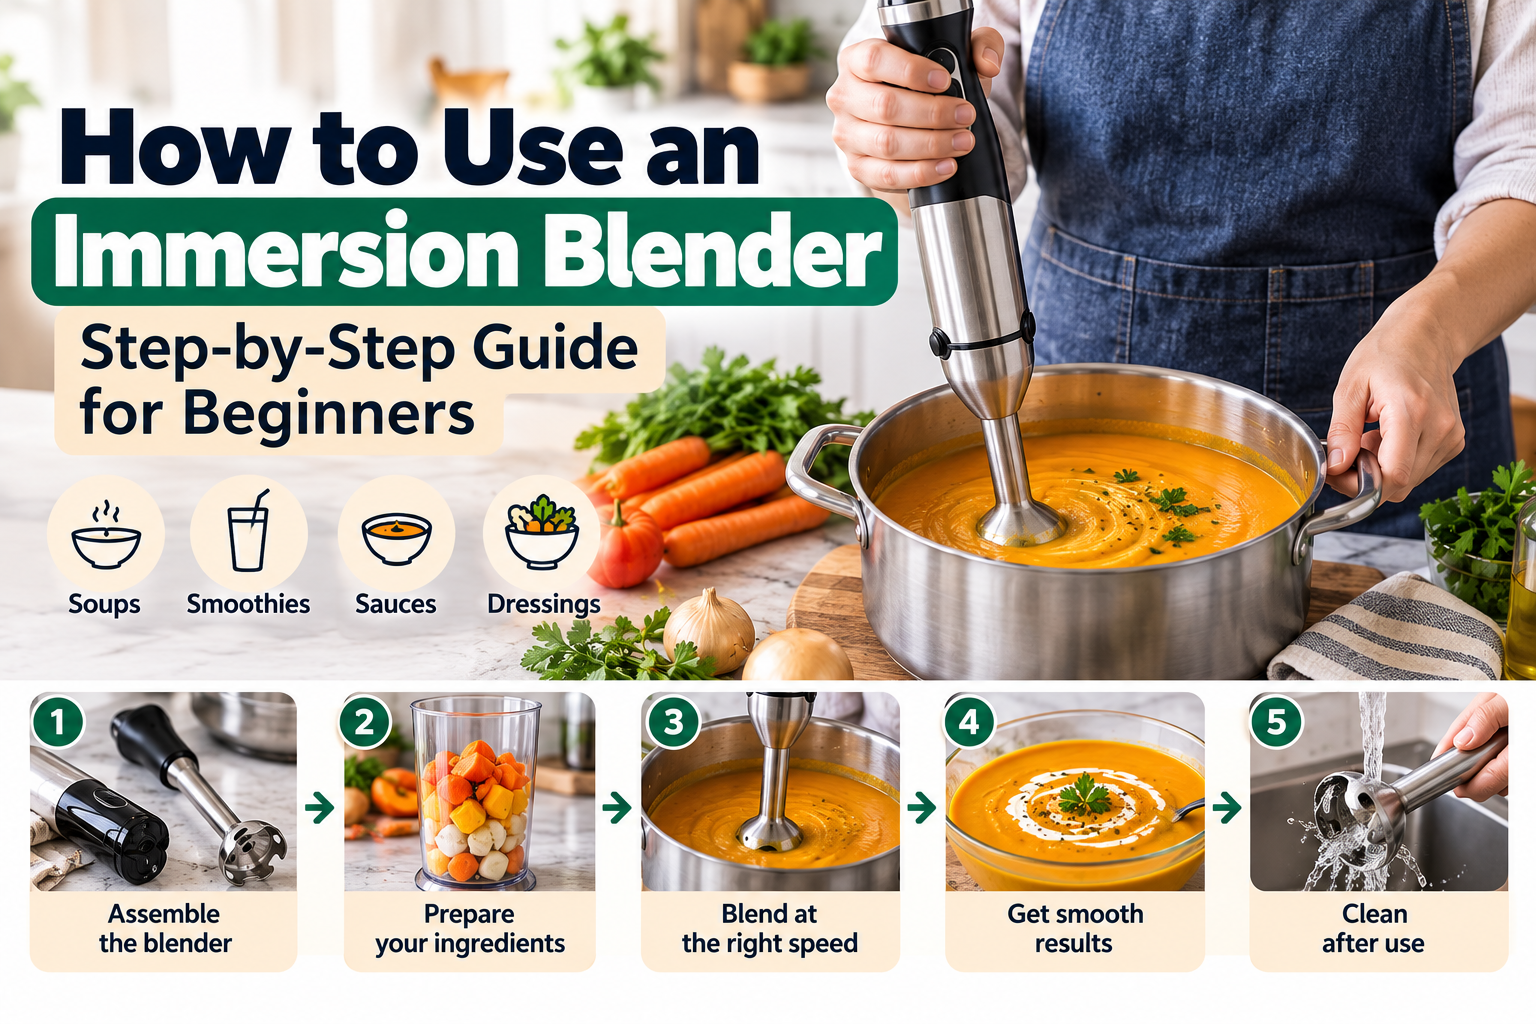
Learning how to use an immersion blender can make preparing soups, sauces, dressings, and other everyday recipes much easier. Also known as a hand blender or stick blender, this compact appliance lets you blend ingredients directly in a suitable container without transferring everything to a large countertop blender.
However, using an immersion blender correctly involves more than simply pressing the power button. You need to choose the right container, position the blending head properly, control splashing, and clean the attachment safely.
This beginner-friendly guide explains how to use an immersion blender step by step, what you can make with it, how to avoid common mistakes, and when another kitchen appliance might be a better choice.
How to Use an Immersion Blender: Quick Answer
To use an immersion blender, securely attach the blending shaft, place suitable ingredients in a stable container, and lower the blade guard into the mixture before switching on. Start at a low speed when available, move the blender gently to process the ingredients evenly, and release the power button before lifting the blending head out of the mixture.
Wait until the blade stops completely, then unplug the appliance before removing the attachment or cleaning it. Always follow the instructions for your specific model.
What Is an Immersion Blender?
An immersion blender is a handheld kitchen appliance with a motor unit, blending shaft, and rotating blade enclosed by a guard. Unlike a countertop blender, it does not require a dedicated blending jar for every task.
Depending on the model, you can use it in an appropriate blending cup, mixing bowl, or saucepan. Some models also include whisk and chopper attachments.
Immersion blenders are especially useful for small batches, smooth sauces, pureed soups, and recipes where transferring ingredients would be inconvenient.
Parts of an Immersion Blender Explained
| Part | Purpose | Beginner Tip |
|---|---|---|
| Motor body | Houses the motor and controls | Keep it away from water and food mixtures |
| Blending shaft | Connects the motor to the blending head | Attach securely before operating |
| Blade and guard | Blend and circulate suitable ingredients | Keep fingers and utensils away while operating |
| Speed control | Adjusts blending intensity | Start gently to reduce splashing |
| Blending cup | Holds ingredients during blending | Leave enough room to prevent overflow |
| Optional attachments | May support whisking or chopping | Use only compatible manufacturer-approved accessories |
Not every immersion blender includes all these accessories. Check your instruction manual for the components supplied with your model.
How to Use an Immersion Blender Step by Step
Step 1: Read the Manual and Check the Appliance
Before using your immersion blender for the first time, read the manufacturer’s instructions. Check that the motor body, power cord, blending shaft, and attachments are clean and undamaged.
If your model is cordless, make sure the battery is charged and follow the manufacturer’s instructions for attaching accessories safely.
Step 2: Choose a Suitable Container
Use a stable container that is deep enough to hold the ingredients without spilling. A tall blending cup is often useful for smaller portions.
For soups, you may be able to blend directly in a saucepan if your appliance and cookware are suitable. Check the manufacturer’s instructions, particularly when using nonstick cookware or working with warm ingredients.
Leave enough empty space in the container for the mixture to move during blending.
Step 3: Prepare the Ingredients
Cut large ingredients into smaller pieces when necessary. Remove pits, bones, and other hard objects that could damage the blade.
For recipes requiring soft ingredients, cook or soften them as directed by the recipe before blending.
Do not assume that your immersion blender can crush ice, grind coffee beans, or process very hard ingredients. These tasks may exceed its intended capabilities.
Step 4: Attach the Blending Shaft
With the appliance disconnected from power, attach the blending shaft to the motor body according to the manufacturer’s instructions.
Make sure it is fully secured. Never attempt to adjust or remove the attachment while the motor is running.
Step 5: Lower the Blending Head into the Ingredients
Place the blade guard into the mixture before switching on the blender, as recommended for many common hand blender designs.
Keep the blending head appropriately submerged to reduce splashing, but never immerse the motor body or exceed the manufacturer’s maximum immersion depth.
Step 6: Start Blending at a Low Speed
Hold the appliance firmly and begin blending at a low speed if your model provides adjustable controls.
Increase the speed gradually when appropriate for the recipe. Avoid suddenly switching to maximum speed in a shallow container, as this can cause ingredients to splash.
Step 7: Move the Blender Gently
Move the blending head slowly through the mixture, following the manufacturer’s operating instructions.
Small, controlled movements can help process ingredients evenly. Avoid forcing the blender against the bottom or sides of the container.
Stop periodically to check the texture, especially when preparing a recipe that should retain some texture.
Step 8: Stop Before Removing the Blender
Release the power button and wait for the blade to stop completely before lifting the blending head out of the mixture.
This helps reduce splashing and prevents accidental contact with moving blades.
Step 9: Unplug and Clean the Appliance
Disconnect the immersion blender from power before removing attachments or cleaning. For cordless models, follow the manufacturer’s battery safety instructions.
Detach the blending shaft and clean it as directed in the manual. Wipe the motor body with a damp cloth, but never immerse it in water.
Dry all components thoroughly before reassembling or storing the appliance.
How to Use an Immersion Blender for Different Recipes
How to Blend Soup with an Immersion Blender
An immersion blender can be convenient for pureeing cooked vegetables directly in a suitable pot.
- Check that your model is approved for the temperature of the soup.
- Remove the pot from the heat when recommended by the manufacturer.
- Allow the soup to cool sufficiently for safe handling if necessary.
- Lower the blending head into the soup before switching on.
- Start gently and blend until the desired texture is reached.
- Stop the motor completely before removing the blending head.
Safety note: Hot soup can splash and cause burns. Use small batches or a sufficiently deep container, and never process hot ingredients unless your appliance’s instructions permit it.
How to Make Smooth Sauces
For suitable sauces, add the ingredients to a tall container and blend gradually. Move the blending head gently until the mixture becomes smooth.
Depending on the recipe, you may need to adjust the ingredient proportions or add an appropriate amount of liquid.
How to Make Salad Dressing
Place dressing ingredients in a narrow, stable blending cup, leaving adequate room at the top. Start blending gently and continue until the mixture reaches the desired consistency.
For emulsified dressings, follow a tested recipe and use the blending technique recommended for your appliance.
How to Make a Smoothie
Some immersion blenders can prepare small smoothies using soft fruits and sufficient liquid. Cut ingredients into manageable pieces and follow the manufacturer’s guidance regarding frozen fruit and ice.
For large quantities or very thick frozen mixtures, a countertop blender may be more practical.
How to Use a Whisk or Chopper Attachment
If your immersion blender includes a whisk or chopper accessory, install it according to the manufacturer’s instructions.
Use the whisk for suitable whisking tasks and the chopper for ingredients supported by the accessory. Never substitute one attachment for another without checking compatibility.
Immersion Blender Speed Settings: Low vs High
| Setting | Typical Use | What to Remember |
|---|---|---|
| Low speed | Starting mixtures gently and reducing splashing | Useful when beginning to blend |
| Medium speed | General blending on models with multiple settings | Adjust based on texture and recipe |
| High speed | Finishing suitable smooth mixtures | Use only when appropriate and within operating limits |
| Variable trigger | Adjusting speed through button pressure | Available only on certain models |
Not every immersion blender has the same controls. Some have two speeds, others offer multiple settings, and some use pressure-sensitive triggers.
Common Immersion Blender Mistakes to Avoid
Turning It On Before Submerging the Blade
Starting the motor with the blending head above the ingredients can cause splashing. Follow your model’s instructions for positioning the blade before operation.
Using a Container That Is Too Shallow
Shallow containers increase the risk of spills. Choose a stable, appropriately sized container with enough room for the ingredients to circulate.
Blending Very Hot Ingredients Without Checking the Manual
Not all immersion blenders are designed for the same temperatures. Hot liquids can splash and cause burns, so follow the manufacturer’s specific guidance.
Using the Blender for Unsupported Hard Foods
Hard ingredients such as coffee beans, bones, and certain frozen foods may damage the blade or overload the motor. Check the appliance’s intended uses before processing them.
Running the Motor Continuously for Too Long
Some immersion blenders have operating-time limits and require breaks between processing sessions. Follow your model’s instructions to avoid overheating.
Cleaning Without Disconnecting Power
Always disconnect the appliance before removing the blending shaft or cleaning near the blades. Handle sharp parts carefully.
Immersion Blender Troubleshooting Guide
| Problem | Possible Cause | What to Try |
|---|---|---|
| Ingredients splash | High speed, shallow container, or exposed blade guard | Stop, use a deeper container, and restart gently |
| Mixture remains chunky | Pieces are too large or blending is uneven | Stop and check ingredient preparation and technique |
| Blender will not start | Power issue, incorrect assembly, or model-specific safety feature | Disconnect power and check the manual |
| Motor becomes unusually hot | Overloading or extended operation | Stop, disconnect power, and follow cooling instructions |
| Attachment feels loose | Incorrect installation or damaged connection | Do not operate; inspect and follow manufacturer guidance |
If the appliance makes unusual noises, produces a burning smell, or appears damaged, stop using it and consult the manufacturer or an authorized service provider.
How to Clean an Immersion Blender Properly
- Turn off the appliance and disconnect it from power.
- Wait until the blade has stopped completely.
- Remove the blending attachment according to the manual.
- Wash approved removable parts using the recommended method.
- Wipe the motor body with a damp cloth without immersing it.
- Dry the components thoroughly before storage.
Some accessories are dishwasher-safe, while others require hand washing. Always check the instructions for your exact model rather than assuming that every attachment can go in the dishwasher.
Immersion Blender vs Countertop Blender: Which Should You Use?
An immersion blender is convenient for blending smaller quantities directly in suitable containers. A countertop blender is generally better for large smoothies, drinks, and recipes requiring a dedicated blending jar.
A food processor is often more suitable for slicing, shredding, and controlled chopping.
To understand the differences between other common kitchen appliances, read our food processor vs blender comparison.
Frequently Asked Questions
How do you use an immersion blender for the first time?
Read the manual, clean the removable parts as directed, attach the blending shaft securely, and start with a simple recipe in a suitable container. Position the blending head in the ingredients before switching on and begin at a low speed when available.
Can you use an immersion blender directly in a saucepan?
Many models can be used in suitable saucepans, but you must follow the manufacturer’s cookware and temperature guidance. A compatible pan guard may help protect certain cookware surfaces.
Can you use an immersion blender in hot soup?
Only if the manufacturer permits it. Hot liquids can splash and cause burns, so follow the model-specific instructions and take precautions to control the temperature and batch size.
Do you need to add water when using an immersion blender?
Not always. Some recipes contain enough liquid already, while others require additional liquid for effective blending. Follow the recipe and the appliance’s operating instructions.
Can an immersion blender replace a food processor?
It can perform some mixing and pureeing tasks, but it generally cannot replace the slicing and shredding capabilities of a full-size food processor.
How do you prevent splashing with an immersion blender?
Use a deep container, keep the blending head appropriately submerged, start gently, and release the power button before lifting the blender out of the mixture.
How long should you run an immersion blender?
Processing time depends on the recipe, ingredients, and appliance. Follow the manufacturer’s maximum operating time and rest-period recommendations.
Final Thoughts
Learning how to use an immersion blender starts with safe assembly, choosing a suitable container, controlling the speed, and handling the blending head correctly.
Begin with simple recipes such as a smooth sauce or a small batch of dressing. As you gain experience, explore additional tasks supported by your particular model.
For help choosing an appliance, read our best immersion blender for beginners buying guide.
You can also explore our food processor tutorial to learn when a different kitchen tool may be more suitable.